Hello everyone! As you might have seen recently, we have released our official game trailer for Towers of Thana. The trailer contains gameplay footage, as well as 3D cinematics that will be used to convey story elements to the players.
At a first glance, this might not seem like such a big deal. However, there are hours of work done internally behind these 54 seconds of footage. Indeed, we decided to create our own 3D shots for our gameplay trailer and in-game cinematics. As we have done in the past, today we will share our experience creating our own 3D game trailer by dissecting a specific shot, from the first sketch to the final result.
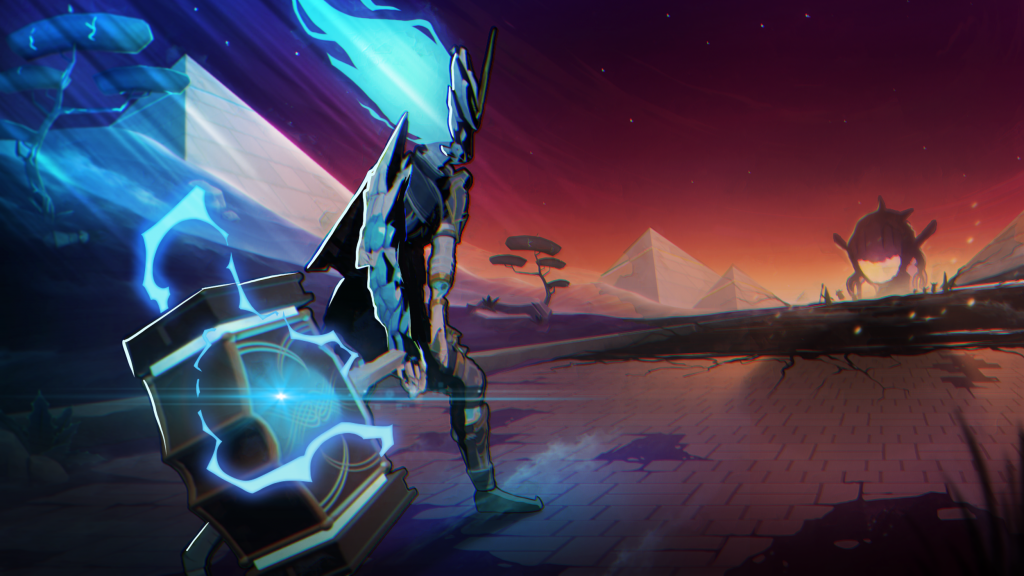
The shot in question is before a big moment of the trailer, as our character Ectus summons Mjolnir the Hammer of Thor and prepares to face a horde of rampaging enemies.
Animatics: Laying Down the Foundations
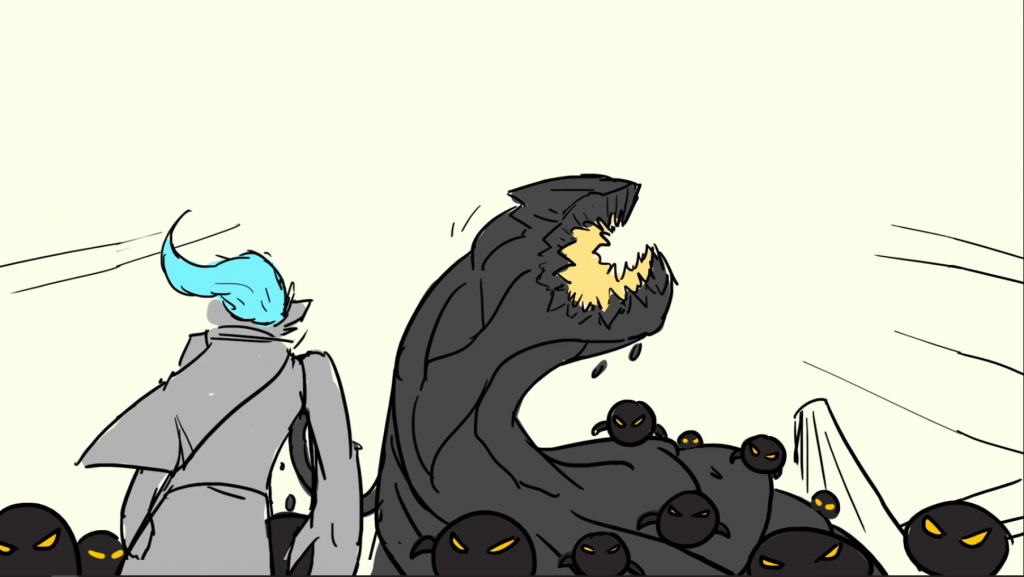
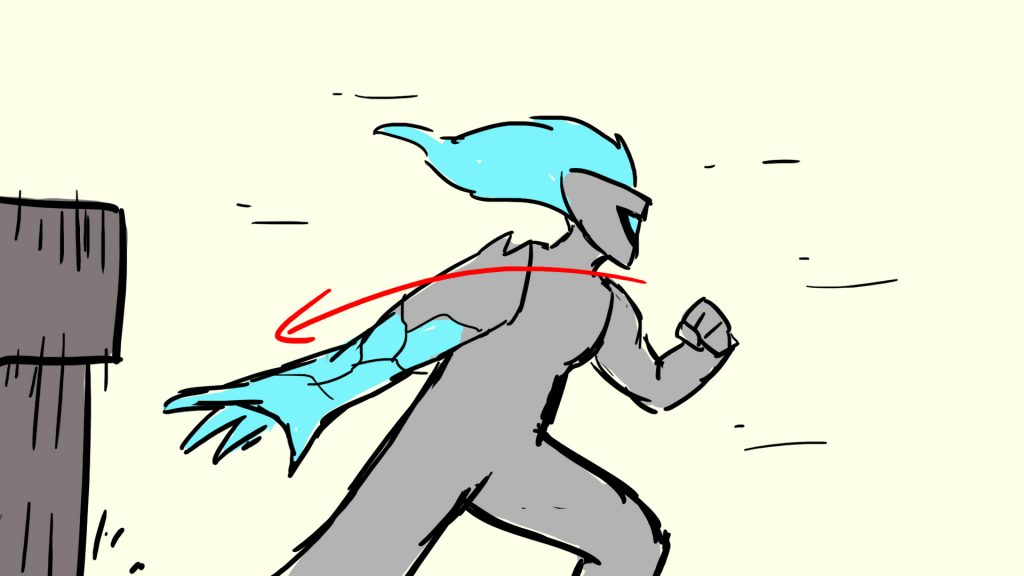
Funnily enough, the shot we decided to analyze was not even in our initial animatics. It came later, when we had a clearer idea of the whole picture. The animatics is similar to a storyboard, it acts as a preview for the trailer. It is a succession of all the frames, drawn in rough sketches, that showcase the entire story from start to finish.
Below are the two plans that we had, originally, in anticipation of the big battle between Ectus and the horde of enemies.
Color Thumbnail: Refining the Idea
As we started to work on each shot in details, the idea for this new one started to emerge. We wanted a cool moment where the main hero was looking ahead, facing a horde of enemies. We also wanted to put more focus on the mythological artifacts in the trailer, since they are key elements of the game. As such, we decided to merge the two previous plans into the one below.
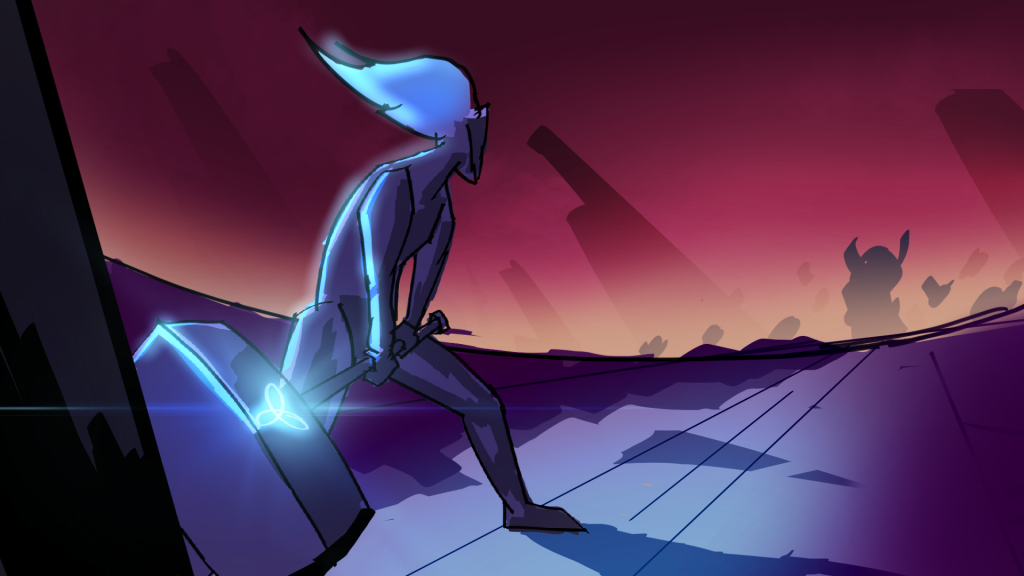
We usually call this step the color thumbnail of a frame. It adds more details and acts as the baseline for the team that will have to create the 3D assets in Blender. Once the general idea is agreed upon, our concept artist JS went back to the drawing board and added lots of details to the shot.


The color thumbnail also acted as a guide for future camera movements and focus.
Blocking: Going from 2D to 3D
Now that we had the concept in hand, it was time to flesh it out in 3D. To do so, we used Blender to create a scene for each shot of the trailer. Jay and Gab, our 3D artists, then started to create basic 3D assets and placed them in the scene to reproduce the color thumbnail.
High-Resolution Details: Polishing the Assets
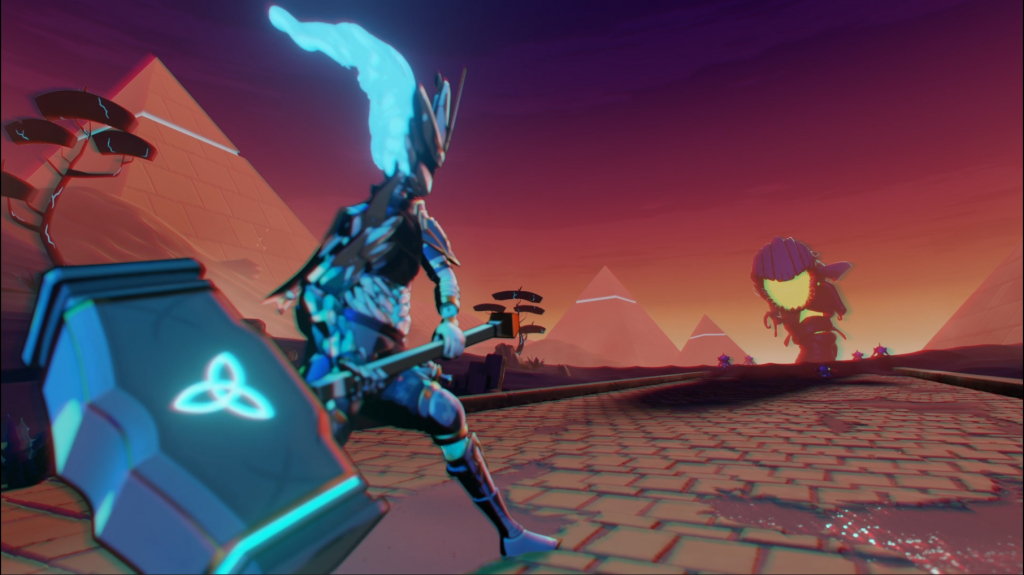
Once the blocking was complete, it was time to create a high-resolution version of all the assets in the scene. This step is probably the most time consuming of all. Jay produced most of the 3D assets. He used Blender for the modeling and Substance Painter for the texturing, then brought the assets into the scene in Blender.
Giving Life to the Scene: Animations, Lighting and VFXs
At last, the finish line was (almost) in sight! At that point, we had a very detailed scene, assets of high quality, background elements, a skybox, etc. What we lacked was… life. To do so, the team needed to animate the relevant assets, such as Ectus preparing for battle. We needed to create visual effects for things like Mjolnir spawning in the hands of the character. We needed to add lighting and shading on the appropriate elements to make the scene feel real.
This step was a team effort from both of our 3D artists, Jay and Gab, and Math, our VFX artist and animator.
This entire process was only for one shot out of many. A total of 2 seconds. The entire work pipeline was similar for all of the 3D shots we wanted. As you can imagine, the entire thing took considerable time and great planning. It can be very challenging to create your own 3D game trailer for the first time. However, we do hope that sharing our approach the entire thing will help many fellow developers out there. Thank you for reading!
