
Hello everybody! David’s speaking. It’s my first post here, so I’ll make it BIG!
Nah I’m kidding. I’m just going to talk about a little piece of code I did for Light Fall, which is the parallax system. I guess that most of you already know what it is, so you probably can skip to the next section. For the others, there’s a quick explanation of what a parallax system does.
What is a parallax system
To put it simple, it allows to create an illusion of perspective in a 2D environment. When you are in a 3D world, you do not need any parallax because the perspective does all of the work for you. One good example of perspective in action is the reality (you know, this lame video game where you work and/or go to school every day?). If you translate your head left and right, you will see the perspective in action (do it, you won’t look stupid, I swear!). The objects that are close to you are “moving faster” than the objects that are away. That’s one of the multiple effects of perspective on a 3D world.
In a 2D world, perspective doesn’t exist, therefore moving the camera (or your head) left and right won’t have any impact because you’re missing the 3rd D, the distance. In other words, even though I put a background very far away and a bush very close, they will both travel the same distance on the screen when I move the camera.
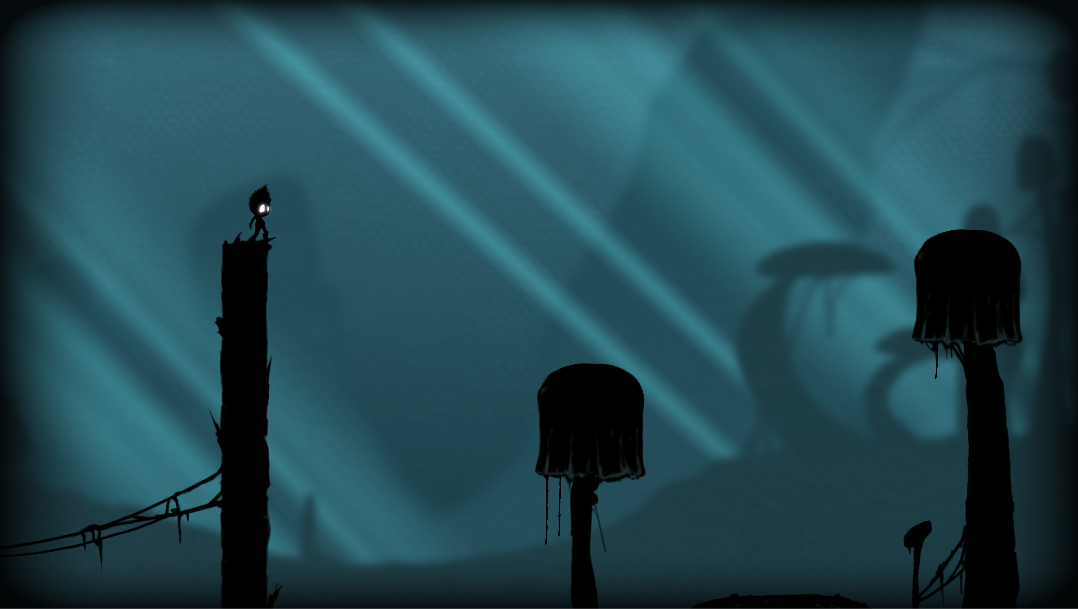
In a game like Light Fall, where the character is traveling in a rich world, creating the illusion of perspective can add a lot of depth to the experience.
How it works
We’re obviously not the ones who invented the parallax system. It has been around in the game industry for decades now. The concept is quite simple: create a few layers, then make them move at different speeds. Now, the first question is: do I make the layers closer to the camera move faster or slower? Well, I’d say it depends of what kind of effect you want to achieve. Let’s make two experiments.
Translation
If you translate your head left and right, like you probably already did earlier, the objects that are close to you are moving faster than the one that are away. Therefore, if you want to create the illusion of translation, that’s what you want to do.
Rotation
Instead, if you rotate your head, you will notice that the objects that are close are travelling slower. If you want to display a room for example in a game and create the illusion that the main character is rotating his head, you want to make the layers that are closer to the camera move slower.
In both situations, make sure you tweak the different speeds. Something subtle will often provide a better experience.
The problem
When you work in a full 3D engine such as Unity like us, doing a parallax system seems counter-intuitive. You already have all the perspective you need, and some games will just want to use that instead. Like most people, we tested both and decided to use an isometric camera and fixed it on the x and y axis. Nothing spectacular here.
To create the parallax system, we did something fairly simple. We created an empty game object, parented all the stuff on that layer to it, then added a little component that moves the empty game object around when the camera moves(which is not so empty anymore). Then, a problem appeared: it became really hard to add more assets to the level. See, the layers don’t move at the same speed (it’s what we’re looking for, right?). Therefore, how can I make sure the nice little house on the 2nd layer appears at the same time than the tree on the 3rd layer 3 minutes away at full speed on the right direction of the level? Since Unity does not save the changes you make while the game is running, it is hard to place those asset perfectly in the editor.
The solution
Comes into play our little home brew. Once again, we kept things quite simple. But don’t get me wrong: it works great. We simply created a script that executes itself in “Edit Mode” (when nobody’s playing the game and the creator is… creating). Now, when I move the camera in the editor, the parallax layers move as well. So when I work on a portion of the level, I simply move the camera over there, and every layer fellow.
I hope you enjoyed this little article. There is an example project so you can have a little hot start to implement your own solution. Don’t hesitate to contribute!
Note that when you add a parallax layer for the first time, you may need to restart Unity before it works properly. There’s indeed a fix for that, but I didn’t take the time to implement it yet.
[EDIT] It’s fixed now :)