We often get asked about the levels of Light Fall, precisely the creative process behind them. Obviously, the levels are the heart and soul of our game, being a platformer and all that… With time, we have developped a working habit and some tips and tricks when making a new level for our game. In this blog post we will elaborate in depth on the steps we take when it comes to the level design of Light Fall.
A COOPERATIVE PROCESS
On our team, the level design is a cooperative process. We don’t have this single guy who makes all the levels from A to Z. Every time we start a new level, we follow definite and clear steps all the way from the concept idea to the final product. This prevents us from being overwhelmed, allows us to plan ahead of time and schedule our development time accordingly. We realize the importance of having exciting and interesting levels. As such, everyone on the team contributes to the level design in one way or another.
STEP 1 : THE IDEA
While it may seem a bit obvious, this step cannot be overlooked. What is the purpose of the level you’re making? How does it fit within your game’s storyline? What makes this level interesting? It’s important to ask yourself these questions before you dive into the creation stage. You simply don’t make a level just to make a level… It has to have a meaning.
To follow up on this point, we have created a gameplay mechanics list at the very beginning of development. This list contains very fun and innovative gameplay ideas that we wish to implement into the game as the player progresses through the story. It is at this stage that we start to think about which mechanics we will introduce in this particular level. On our team, it is Ben’s task to elaborate on a level idea. Being the writer of the story, he comes up with level ideas that fit within the game’s lore, universe, story and progression.

STEP 2 : THE CONCEPT
After Ben has developped on an initial idea, he then presents a concept to the rest of the team. The level concept is usually comprised of the following general lines : the level theme, the atmosphere and environment, the purpose within the story and any special features. This step is important because the feedback from David and Math is extremely valuable. Every member on the team has its own personal views and ideas, and in the end, this diversity can only benefit the quality of Light Fall.
It’s also at this step that Math elaborates on a visual concept (concept art) of said level and try to make it blend with the rest of the game. These concepts are usually what we show to the public to gather external feedback. Once the team is all on the same page and in agreement with the concept, the creation process can now officially begin.
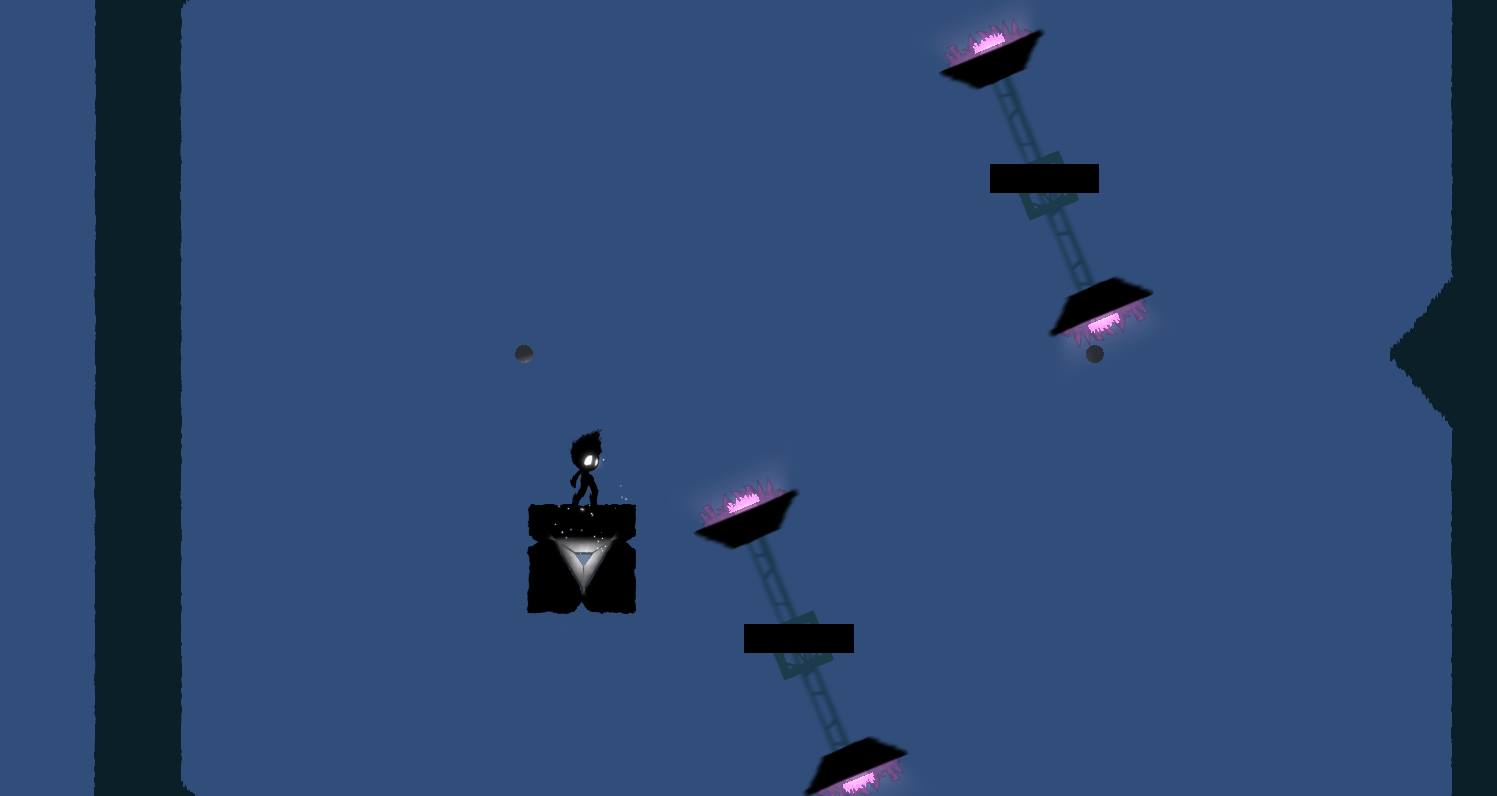
STEP 3 : THE SKELETON
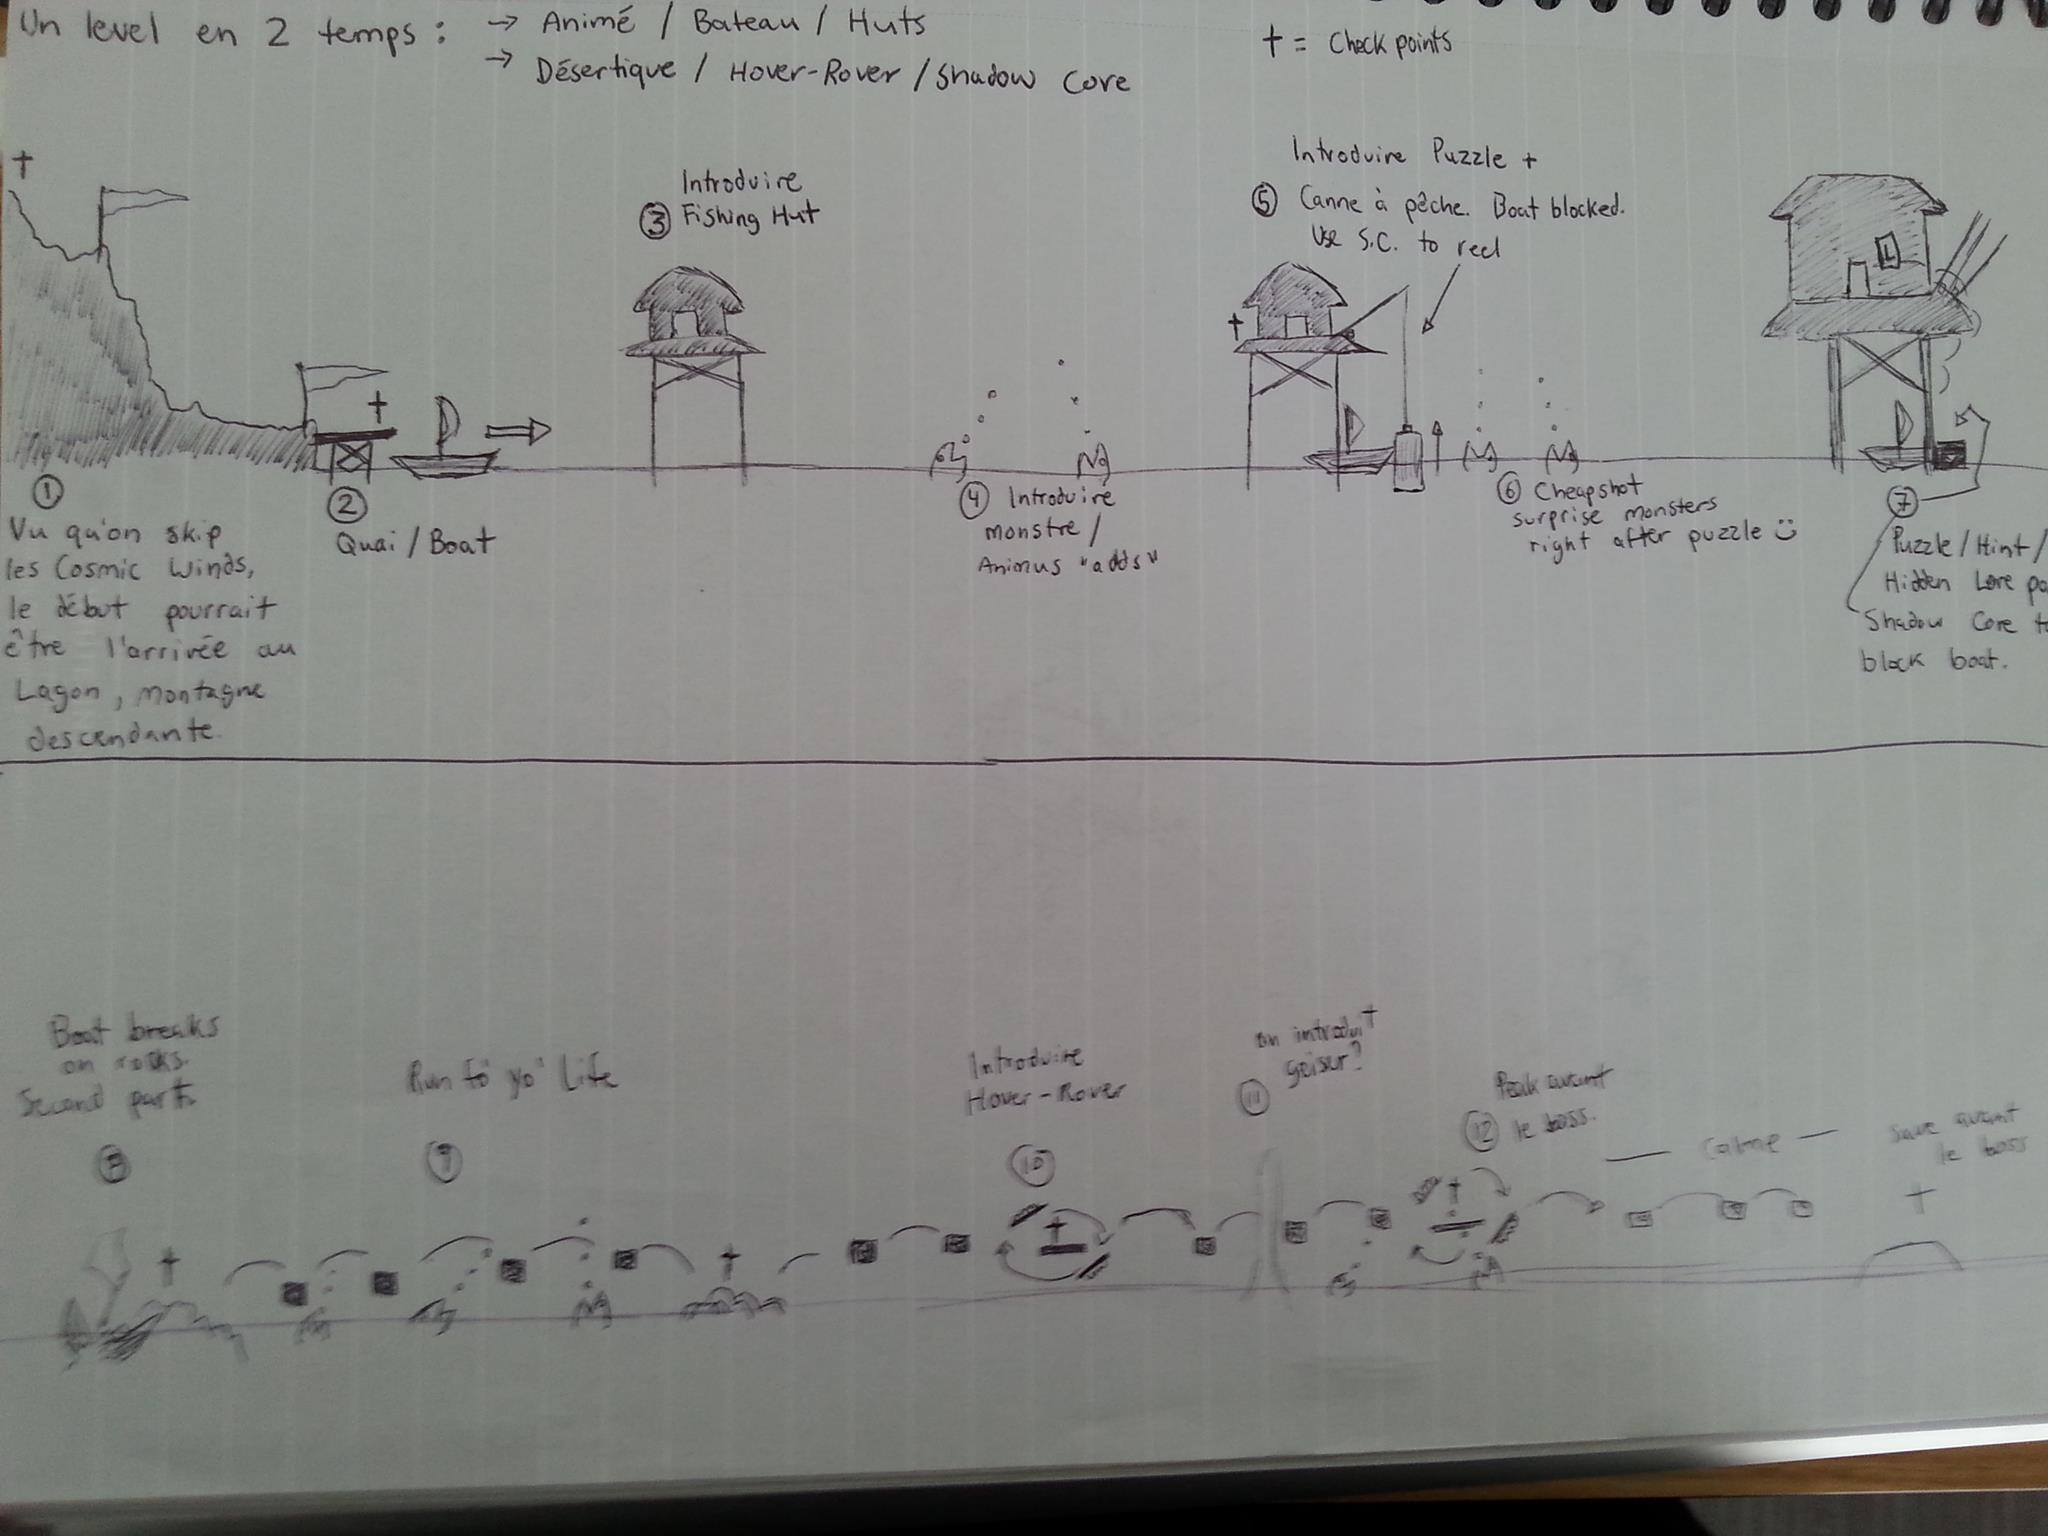
At this point, it’s time to make the vision a reality. Ben usually starts off by drawing up an overview of the level, the skeleton as we call it, in his scratch book (old school, we know). This step may not be necessary for everyone, but in our case, it feels easier to recreate the level into Unity when we have an overview on paper. From our experience, starting from scratch makes it hard to be inspired. The skeleton doesn’t need to be 100% precise or perfectly scaled, its role is to give us a global look at the many elements from this particular level.
STEP 4 : THE BODY
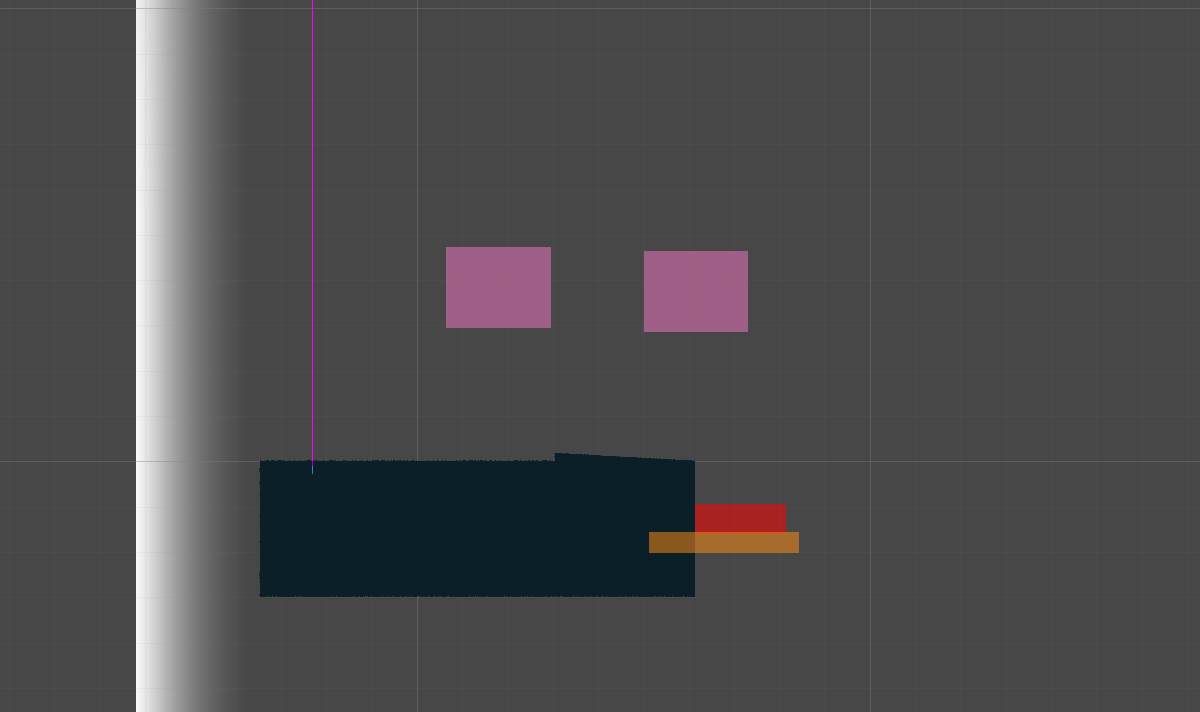
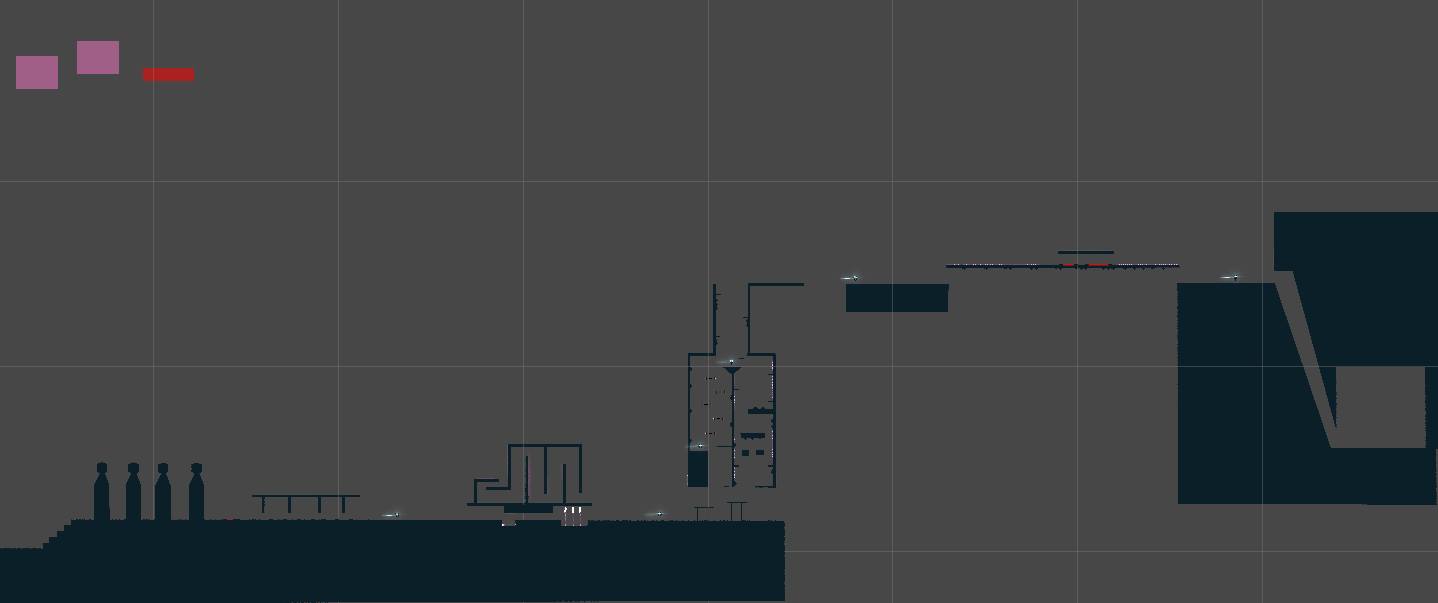
At this point, things are really falling into place. It’s the step where Ben builds the core of the level in Unity. Meanwhile, David works on the specific programming needs for this particular level. For example, in one of our levels a player controls a boat to move around on a calm lake. To test the level design in Unity, we needed the boat to be functional. That was David’s job. So, while Ben created the level design, David was still contributing in a very important way. Basically, at this step, you have an ugly but playable level in Unity. Some features may not be included yet, but overall you can go from the start to the end in Play Mode. The in-game narrations are also placed in the level at this stage.
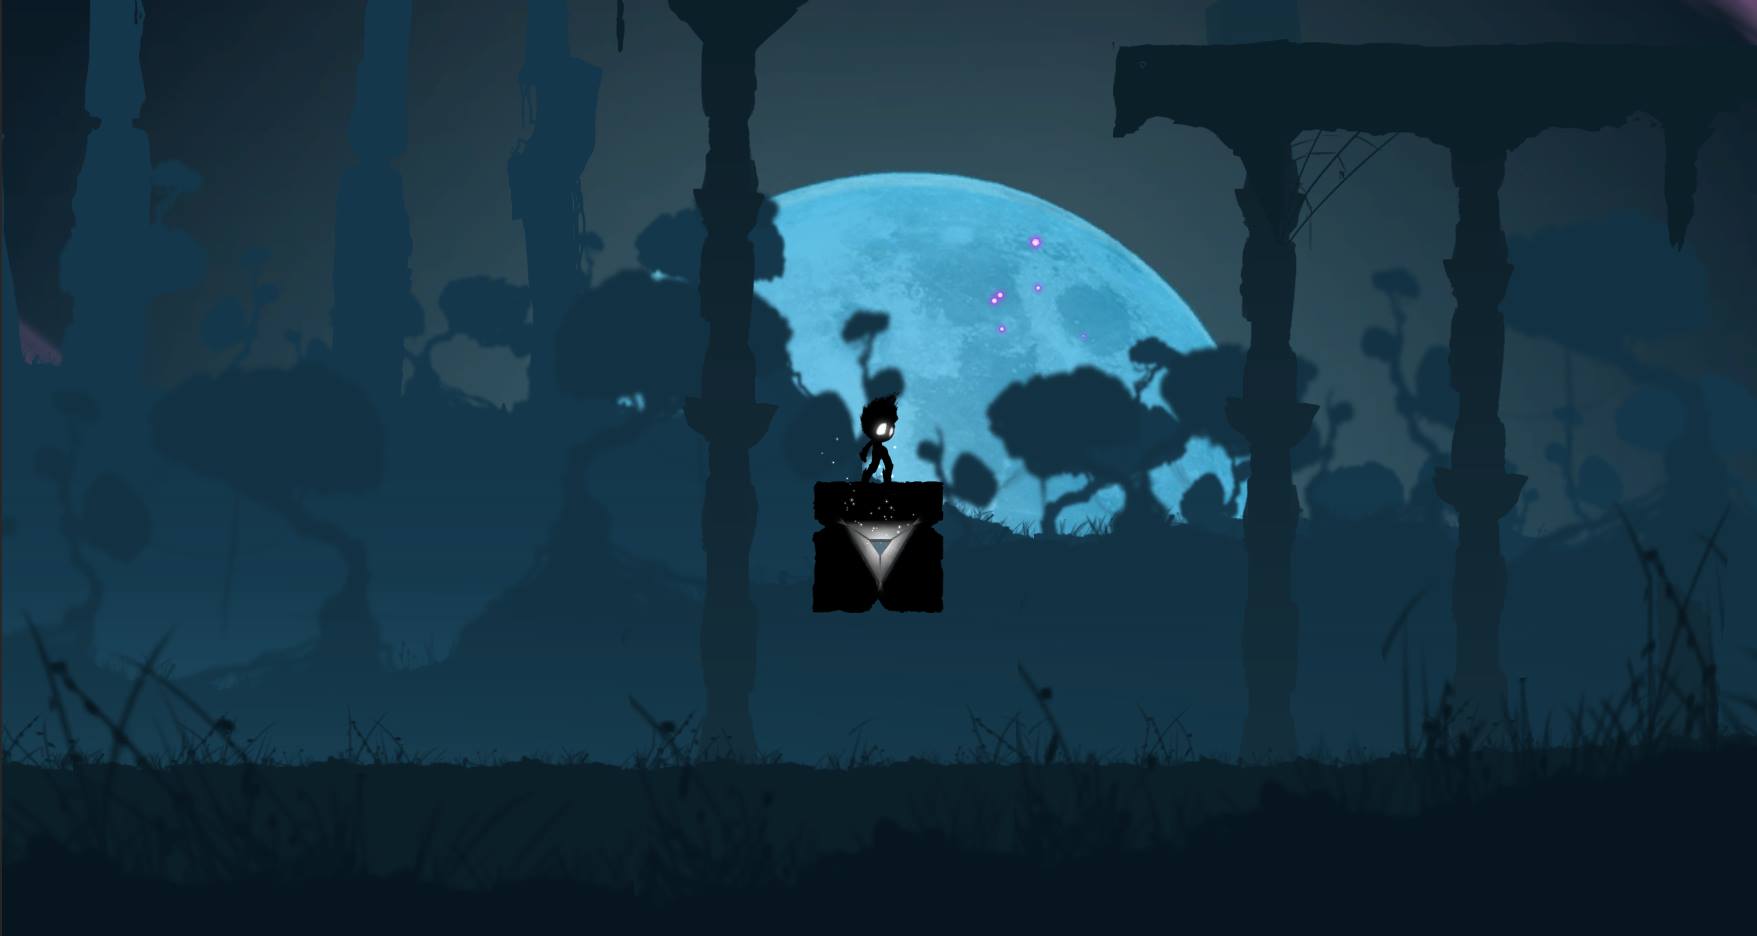
STEP 5 : THE BEAUTY
This step is Math’s grand entrance. Now that the core of the level is in place in Unity, Math can jump in and create the art and assets for the level. If the level requires quite a lot of assets, Math starts ahead of time, while he is not needed much in the earlier steps. We like to say that Ben is the architect and Math is the builder. He understands Ben’s vision and ideas with ease and can make them come alive with his skills. While the level was playable in the previous step, now it is also watchable… After this step, the level is roughly done. What’s left now is to playtest it as a whole and do some minor tweaking.

STEP 6 : THE POLISHING
The final step, but a step that can require a lot more time than previously anticipated (we learned the hard way). At this point, the level has all the tools it needs : the assets, the art, the background elements, the in-game narrations, the creatures, the gameplay elements, etc. Still, you need to see if said elements work well together. This step requires a lot of playtesting sessions; trying to spot minor bugs or errors made during the level design and just feeling the general vibe of the level. If everything feels right, the level design for this particular level is officially over.
As you can see, making a level is no easy feat. It requires a lot of work, back and forth discussion and testing. You may also have noticed that some steps only require the work of one or two members, which is why we have several levels in the making at the same time. When one guy is done for this particular level, he can jump to the next one if the steps and schedule are timed properly. If not, he can move over to the other 100000’s things we have to do!
We hope you enjoyed this post and learned more about our way of working at the studio. We realize our approach may not be the best, after all, it is our first game. But for us, it’s the best one we’ve come up with!
Talk to you soon!
Cheers!